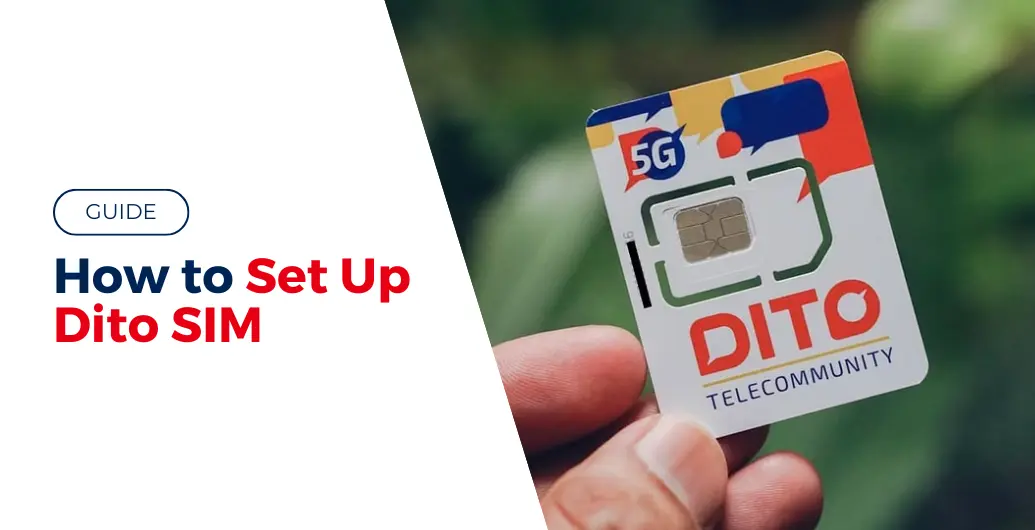
As per RA 11934 (Sim Registration Act), active subscribers of mobile networks in the country need to register their SIM cards to prevent the deactivation of their numbers. It aims to curb telecommunications-related crime, like phishing and scams. So before users can enjoy its features and services, they need to know how to set up their Dito SIM.
The process will only take a few minutes to complete and will require them to enter their personal information and upload a valid ID and selfie.
Table of contents
What carrier is Dito?
Dito SIM is a product of DITO Telecommunity Corporation. They’re a recent addition to the telecommunications providers in the Philippines, and they aim to provide reliable and high-speed connections to citizens of the country by utilizing 4G and 5G networks.
They’re currently working on expanding their coverage quickly to provinces in the Philippines, so it’s no surprise that they gain new users daily. That’s why subscribers need to know how to set up their Dito SIM to experience its prepaid or postpaid services.
Dito SIM Services and Features
As the third telecommunications provider in the Philippines, Dito offers a wide range of services and features that enhance communications for subscribers.
To make the process of learning how to set up their Dito SIM exciting, below are some of the services they offer:
- Voice and text Services – users can call and send text messages using their network.
- Mobile data Services – users can access the internet on their smartphones or tablets.
- Roaming Services – subscribing to roaming services allows user to use their mobile devices while traveling abroad.
- Data Promos and Packages – Dito offers several data promos and packages that allow users to choose a data limit that suits their needs.
- Load and Prepaid Services – Dito offers prepaid and postpaid plans that allow users to select a plan that suits their usage and budget.
Is Dito SIM Automatically Registered?
The Dito sim isn’t automatically registered upon purchase. Since new sim cards are deactivated by default, users must manually register them by installing them on their smartphones or tablets to access the Dito mobile application. Note that their Dito SIM card will expire if they don’t register or activate it within the date on the packaging.
How to Activate Dito SIM Card
Before users can enjoy their new SIM, they’ll need to activate it first by following the steps below:
- Download the Dito app on their smartphones or tablets and click “SIM Registration.”
- Choose the type of registrant (i.e., Filipino, Foreign national, or Business entity).
- Enter their mobile number and One Time Password (OTP).
- Upload a photo of a valid Government-issued ID and a photo of them holding it.
- The application form automatically enters their personal information, so they must review them for corrections.
- Once the information is correct, tap the “Register” button.
For minors who want to succeed in a Dito SIM activation, they’ll need to submit the following:
- Valid Government-issued ID of their parent or guardian.
- Consent of their parent or guardian for registering the SIM card.
For businesses, they’ll need to submit the following requirements:
- SEC/DTI Certifiacte of Registration
- Board Resolution designating the authorized representative or a Special Power of Attorney (SPA)
For foreigners who want to register for a Dito SIM card, they’ll need to upload the following:
- Passport
- Proof of address in the Philippines
- Return ticket to their original country (indicating the time and date of departure from the Philippines)
How to Use Dito SIM Card
Since Dito utilizes high-end Voice-Over LTE Technology (VoLTE), their SIM card is only compatible with a limited number of brands and device models. Unfortunately, Dito isn’t compatible with Apple devices, but below are a few Android models that work excellently with the SIM:
- Cherry Mobile Aqua S9 and S10 Pro
- Cherry Mobile Flare S8 and Flare Y20
- Honor 90 and 90 Lite
- Honor X9a 5g & X6a
- Huawei Mate 30 & Mate 40 Pro
- Huawei Nova 5T & Nova 8
- Nokia G10 & G50
- Oppo A12 & A17
- Oppo Reno 3 Pro & Reno 5 5G
- Samsung Galaxy A01 & Note 10+
Users can visit this page for the complete list of compatible smartphones.
If a user’s phone isn’t on the compatible list but still wants to subscribe to a Dito SIM, below is a step-by-step guide on how to use their Dito SIM:
- Insert Dito SIM into a smartphone.
- Go to the phone’s Settings and tap Mobile Network. Then select Access Point Name.
- Tap the Add button and type in internet.dito.ph before saving.
- To test, turn on mobile data. The user will receive an SMS and email confirmation if the SIM is activated. The confirmation will also include the link for downloading the Dito app and their temporary password.
Conclusion
Due to the SIM Registration Act, users need to register their new SIM cards before enjoying their features. Fortunately, the process of how to set up a Dito SIM only takes a few minutes of the user’s time. They only need to fill in their details, upload a photo of a valid ID, and take a selfie, and they’re good to go.
Also Read: GUIDE: Travel Insurances in the Philippines and Where to Get One

Leave a Reply